Wood Slice Purse and Key Rack
I have a horrible habit of getting home after a long day of work and throwing my purse wherever. Most of the time it lands on my tv stand or on my couch and makes my space look like a cluttered mess.
After reading Marie Kondo's book, The Life Changing Magic of Tidying Up , I really wanted to incorporate her theory of everything having a "place" into my life. She believes that when things have a home, it is less likely that you will have clutter build up over time.
Apparently, this concept didn't stick with my purse and keys. I didn't ever have a home for either of them so they made themsleves at home wherever there was an open space. I grew very tired of this and decided to make some changes.

While purse hooks are usually pretty inexpensive, I preferred to have something that could hold multiple things and have some personality as well! So I constructed this wood slab purse/key hook and I am loving it! I hope you can use this tutorial to create a home for your purse and miscellaneous daily objects too.
Let's get into it!
Here's what you'll need:


These cup hooks are awesome. I have used them in a ton of different projects and they're super easy to use. Just figure out how many you want and where you want them to be located and start screwing them in.
It may help to tap on the top a little bit before turning them to get them to stay in place a little easier. If it gets hard to turn them or starts to hurt your fingers, wrap some fabric around them and continue screwing them in!
Make sure your hooks go deep into the wood. If they're too shallow they will start to fall out because of the weight of your purse or other belongings.
Add some flare:


I knew I wanted a place where I could spice up the slab by adding pictures or a grocery list. I found these little clothespins at Michaels for around $2 and thought they were perfect. I planned on using two but decided that one pin in the middle was enough considering how much stuff will probably be hanging from this rack eventually!
I used hot glue to attach my clothespin right in the middle of my wood slab. The possibilities are endless when it comes to customizing your wood. Try adding faux flowers or painting a design on the wood before hand for added fun.
Attach the final piece:


The last thing you want to do is attach the sawtooth hanger to the back of the slab. Make sure the teeth are pointing towards the ground when you screw this into place!
The last thing you want is this piece to be upside down. Your wood will slight right off the wall when you go to hang it up...Major fail!
You only need to attach one of these hangers but if you feel better adding to for more support, feel free. If you're that girl who carries the world in your purse, this might be a good step to take! (No judgment...I used to be that girl...)
Hang it up:

I didn't list this in the "things you'll need" section, but obviously you will need a way to hang this rack onto the wall.
Hammer a small nail into the wall and hang your new piece! And your purse...and your keys...and your scarves and jackets and sunglasses! Okay, maybe not that much stuff. We don't want to break it before we've gotten sufficient use out of it.
Customization:
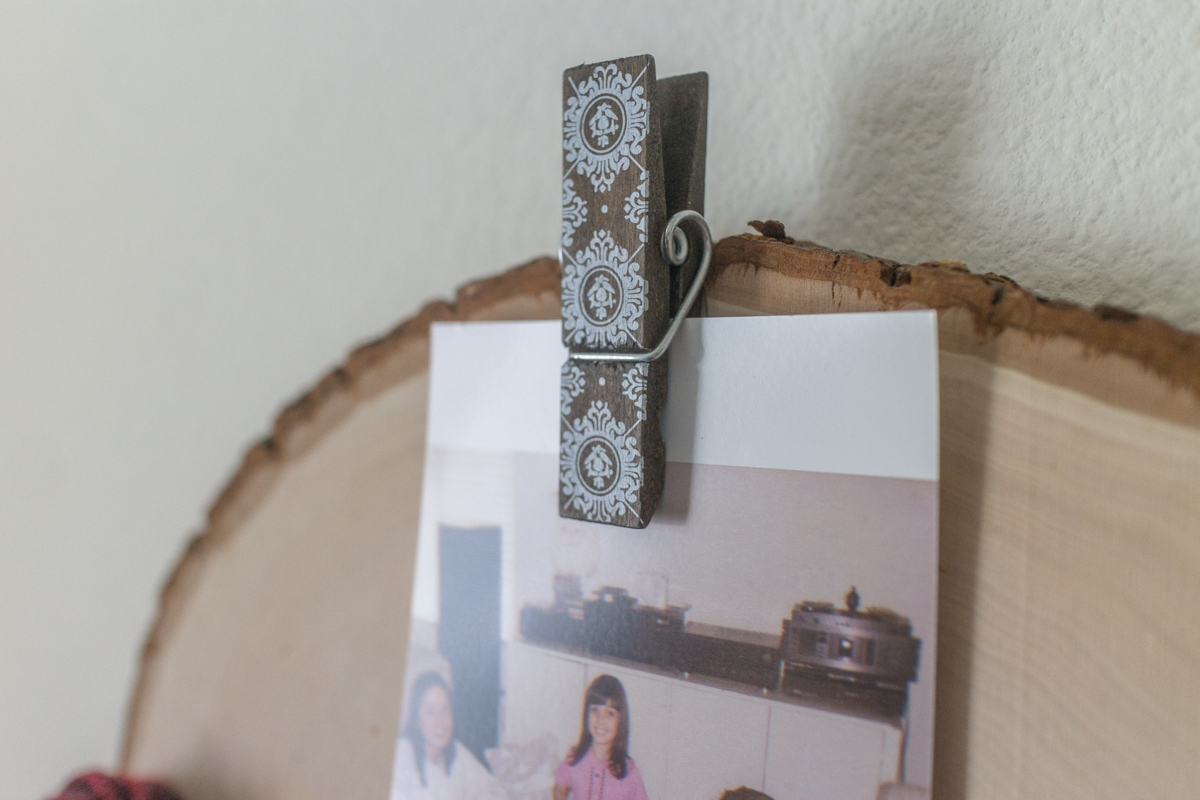
Like I said, I chose to glue a clothespin to my slab. I clipped a picture of me and my family on it so it's the first thing I see every time I come home. You can do the same or hang your shopping list. Maybe even hang some motivational quotes there to get you through the day!
(Want some motivational quotes to hang on your new piece? Check out this one here or maybe this one here.)

I definitely wish I would have painted the hooks before I screwed them in. This might be something to consider doing before you start assembling your rack. I think it would look so cute with bronze hooks or even a fun color like burgundy.
This is one of those projects that you can really play around with and make your own!
I hope you enjoyed this tutorial and found it useful. Let me know in the comments below if you decide to make your everyday belongings a new home. I'm so glad to have my purse off of my couch and my tv stand. Finally!
If you want to see more tutorials like this one, make sure to subscribe below!
Disclaimer: This post contains affiliate links. Simply put, I may receive a small commission if you choose to purchase through the links I have provided.