Bohemian Arrow Ornament Tutorial
Day 3 of this week’s Christmas ornament takeover is upon us! I’m so happy to have you here and hope that you have enjoyed the other two tutorials that I have posted! If you haven’t seen the last two tutorials, you can catch up by clicking below.
Handmade Stamp Birch Ornaments
I've been seeing all kinds of cute bohemian style ornaments this season. Even the simplest of designs can get very, very pricey! So I put my thinking cap on to create this adorable, Anthropologie inspired ornament.
Today I’ll be showing you how to make these little bohemian arrow ornaments. They’re so freakin’ cute and are incredibly easy to make

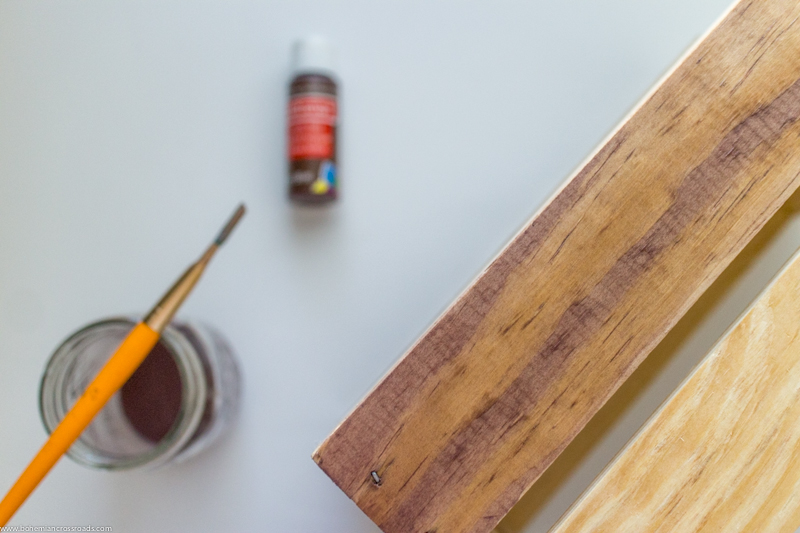
Here's what you'll need:


Using your x-acto knife, cut small arrow like shapes out of your clay. They should be about half of a centimeter thick and half of an inch wide.
I chose gold clay so it would blend well with the neutral, earthy tones of my arrows.
Form the clay:

You're going to want to bake your clay so that it hardens. Before you do this, though, make sure to stick your twigs into the clay to make an indent.
This little hole is where you will hot glue your twigs in after your clay is baked.
The clay that you choose should come with baking instructions on the package. Since these clay bits are so small, I only had to bake them for about 10 minutes at 230 degrees fahrenheit.
Accessorize your twigs:

Grab your beads and stick them on the ends of your twigs. If you plan to use beads like I did, make sure you pay attention to how big the holes of the beads are.
You don't want to buy beads with this project in mind and get home to see that they're way too small to fit on your twigs!
If you prefer not to add beads or can't find the right size, you can try wrapping small bits of clay around your twig. This will add the extra spunk that finishes off this ornament so nicely.
If you do add some clay, I would highly recommend getting some air dry clay instead of the oven bake type that I have been using. That way you don't have to put your twigs into the oven.
Add some flare:

What's an arrow without a feather delicately finishing off the end? I think this feather gives the piece the perfect finishing touch.
After you have placed your beads on the end, attach your feather by dabbing a small amount of hot glue to the end of the twig. Place your feather onto the glue dot and cover it with the bead so you can't see the glue.
Since you're sliding the bead over the feather, the hot glue you just applied should attach to the inside of the bead allowing the bead to also stay in place.
Look how cute:

These turned out so cute I could hardly stand it. I can't wait to put these on my Christmas tree!
Making cute ornaments that you see in stores like Anthropologie and Urban Outfitters doesn't have to cost you an arm and a leg. All of these supplies are things that I already had on hand.
If you really want to save some money, spend a day in a park or a creek and see all of the awesome accessories nature has for you to add to your arrow ornaments.
Well, that is all for day 3 of the Christmas ornament takeover week. I hope you will join me tomorrow to see what I'm making next!
Also, be sure to subscribe below so you an be notified of my most recent posts!