DIY Natural Ingredient Facial Cleanser
A $15 face wash may not seem like much, but I’m slowly starting to experiment in minimalizing my skincare routine even more and making what I can at home.
Read MoreA $15 face wash may not seem like much, but I’m slowly starting to experiment in minimalizing my skincare routine even more and making what I can at home.
Read MoreAlthough Halloween will be over as of Sunday, the fall decorating doesn't need to end anytime soon. Stores start to discount their fall decor a little bit after halloween, but things can still get pretty expensive! Like I have said before, sometimes you just have to make things yourself.

This week I'll be showing you how to make an extremely versatile, fun for all ages glittery pumpkin. This has to be the easiest tutorial. Considering I had most of the supplies on hand, the most expensive part was the paper mache pumpkin, which was a whopping $2.


Pretty self explanatory right? I chose this penny colored paint because I think it will look nice with the chocolate brown glitter that I had. I usually like pretty neutral colors, so this was really getting wild for me! As you can see I have the stem unpainted here. I was originally going to paint the stem separate to give it a more realistic feel. Later I changed my mind because how realistic can a metallic pumpkin look?
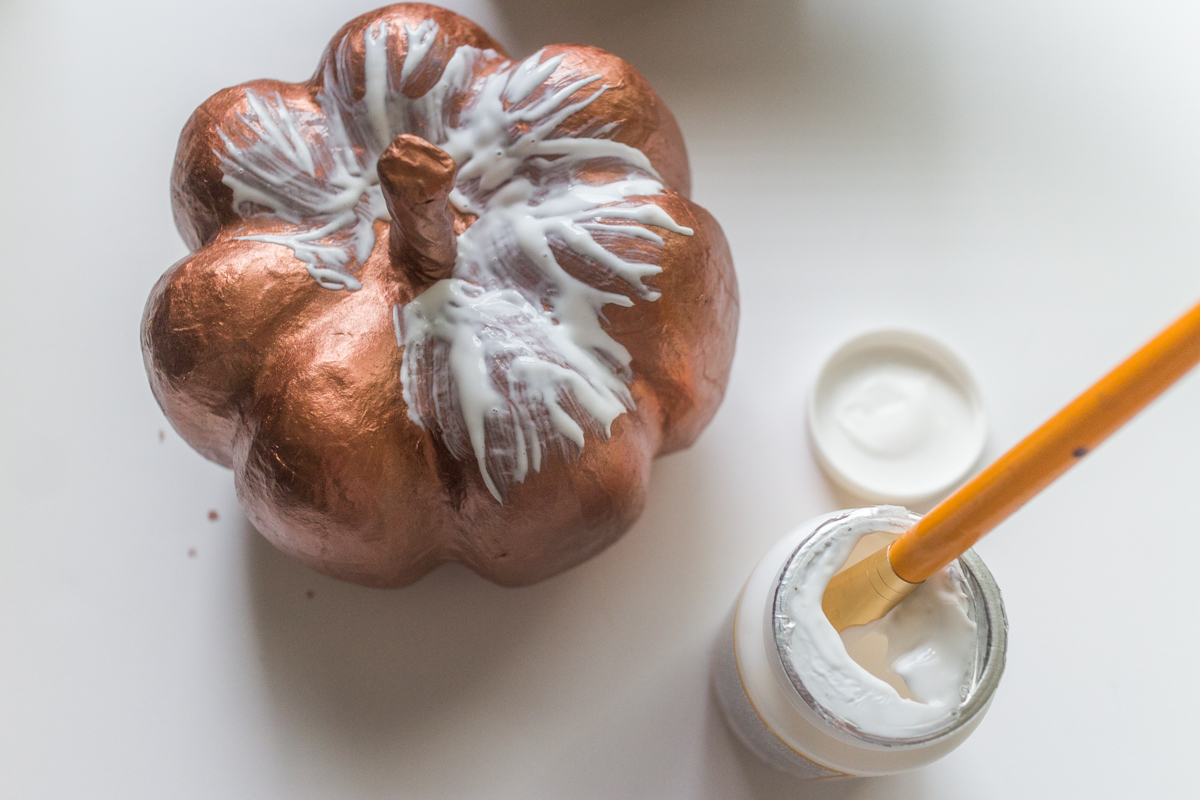
Using a paint brush apply mod podge to wherever you want the glitter to stick. I focused my MP on the top of the pumpkin. I wanted to created a dripping effect with the glitter. If you want to go crazy and cover your whole pumpkin with glitter, go for it! I went in with two layers of mod podge to make sure it was very thick and would still be wet by the time I was ready to add glitter.

Generously apply your glitter. You want to make sure all your podge is completely covered. After you cover the MP with sparkles, turn the pumpkin upside down and shake it to get all the excess off. Then pour more glitter on to make sure you really coat the glue and don't see any white spots. Make sure you do this on a surface that you either don't care about or can easily be cleaned, glitter will get everywhere. (Don't say I didn't warn you!)

Who cares if this was a 3 step, insanely easy tutorial. You just made a chic lookin' pumpkin! No one has to know how easy it was to do. Be proud and display it. Shoot, make a bunch if you want to! I'm so happy with the way my pumpkin turned out. The colors really flow and it fits in so well with my other fall decorations!
If this was the easiest tutorial you've ever seen, let me know in the comments below! I hope this was super simple and helpful to you. Have a safe and happy Halloween!
Want more fun DIY's and weekly inspiration? Sign up for my weekly newsletter and get my most recent posts sent straight to your inbox!
Disclaimer: This post contains affiliate links. Simply put, I may receive a portion of the sale if you choose to purchase through the links supplied for you.